

When it comes to industrial fluid control systems, pneumatic regulating valves play a crucial role. These valves are widely used in various industries to regulate the flow, pressure, and temperature of fluids. One of the key components of a pneumatic regulating valve is the diaphragm, which is responsible for converting the pneumatic signal into mechanical movement. Over time, the diaphragm may wear out or get damaged, and it becomes necessary to replace it. In this blog, as a pneumatic regulating valve supplier, I will guide you through the process of replacing the diaphragm in a pneumatic regulating valve.
Understanding the Pneumatic Regulating Valve and Its Diaphragm
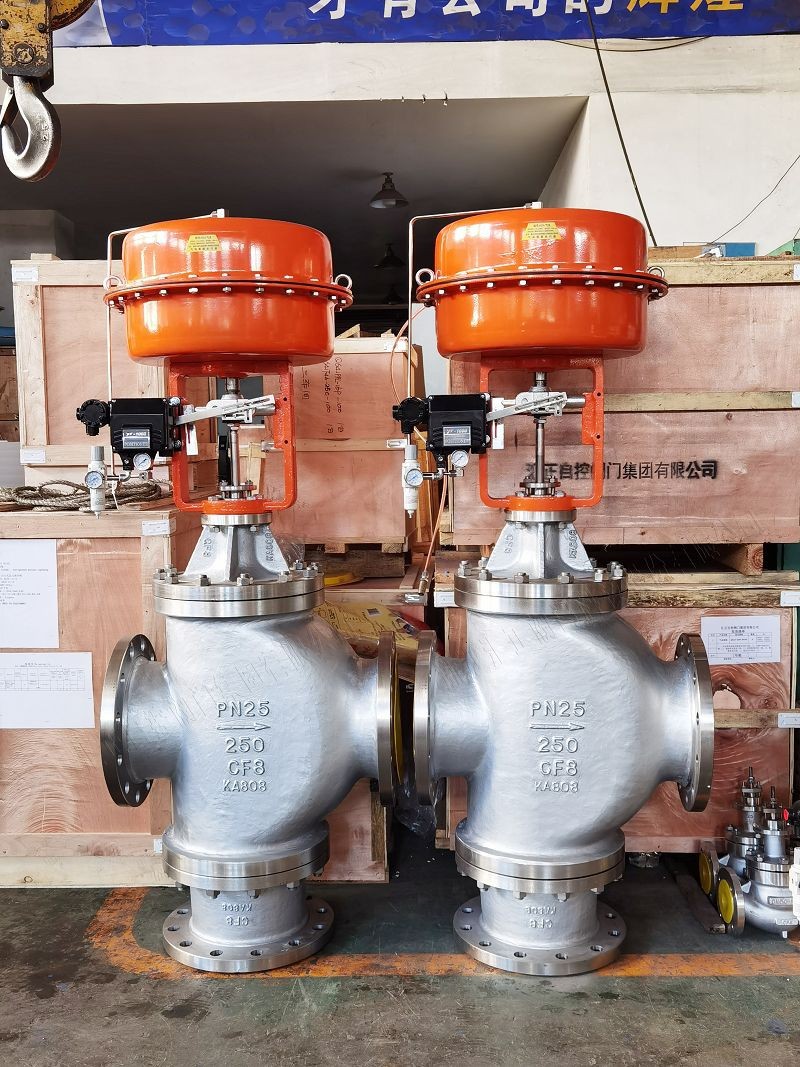
Before we dive into the replacement process, it's important to understand the basic structure and function of a pneumatic regulating valve. A pneumatic regulating valve consists of a valve body, actuator, and diaphragm. The actuator receives a pneumatic signal from a controller, which causes the diaphragm to move. This movement then adjusts the position of the valve plug, controlling the flow of fluid through the valve.
The diaphragm is typically made of a flexible material, such as rubber or elastomer. It acts as a barrier between the pneumatic chamber and the fluid being controlled. The diaphragm needs to be in good condition to ensure accurate and reliable valve operation.
Tools and Materials Required
To replace the diaphragm in a pneumatic regulating valve, you will need the following tools and materials:
- Wrenches: You will need a set of wrenches to remove and install the valve components. Make sure you have the appropriate sizes for your valve.
- Replacement Diaphragm: Ensure you have the correct diaphragm for your specific valve model. You can find the diaphragm specifications in the valve's technical documentation or consult with us, as a pneumatic regulating valve supplier.
- Sealant: A suitable sealant may be required to ensure a proper seal between the valve components.
- Cleaning Supplies: You will need some cleaning supplies, such as a rag and a mild cleaning solution, to clean the valve components before installing the new diaphragm.
Step-by-Step Process for Replacing the Diaphragm
Step 1: Isolate the Valve
Before you start any work on the valve, it is essential to isolate it from the fluid system. This can be done by closing the upstream and downstream shut-off valves. Also, make sure to relieve any pressure in the valve by opening the vent valve.
Step 2: Remove the Actuator Cover
Use the appropriate wrenches to remove the bolts or screws holding the actuator cover in place. Carefully lift the cover off the actuator, taking note of the orientation and any gaskets or seals.
Step 3: Disconnect the Pneumatic Lines
Disconnect the pneumatic lines from the actuator. Make sure to label the lines to ensure proper reconnection later.
Step 4: Remove the Diaphragm Assembly
Once the actuator cover is removed and the pneumatic lines are disconnected, you can access the diaphragm assembly. Remove the bolts or screws holding the diaphragm assembly in place. Carefully lift the diaphragm assembly out of the actuator.
Step 5: Clean the Valve Components
Use a rag and a mild cleaning solution to clean the valve components, including the actuator housing, diaphragm plate, and valve body. Make sure to remove any dirt, debris, or old sealant.
Step 6: Install the New Diaphragm
Place the new diaphragm on the diaphragm plate, ensuring it is properly aligned. Make sure the diaphragm is seated correctly and there are no wrinkles or folds.
Step 7: Reassemble the Valve
Carefully place the diaphragm assembly back into the actuator. Install the bolts or screws to secure the diaphragm assembly in place. Reconnect the pneumatic lines, making sure to follow the labels you made earlier.
Step 8: Install the Actuator Cover
Place the actuator cover back on the actuator and secure it with the bolts or screws. Make sure the cover is properly aligned and there are no gaps.
Step 9: Test the Valve
Once the valve is reassembled, it's time to test it. Open the upstream and downstream shut-off valves and apply a pneumatic signal to the actuator. Check for any leaks and ensure the valve is operating correctly.
Common Issues and Troubleshooting
- Leakage: If you notice any leakage after replacing the diaphragm, check the seals and gaskets. Make sure they are properly installed and in good condition. You may need to apply a sealant to ensure a proper seal.
- Incorrect Operation: If the valve is not operating correctly, check the pneumatic signal and the alignment of the diaphragm. Make sure the diaphragm is properly seated and there are no obstructions.
Importance of Regular Maintenance
Regular maintenance of pneumatic regulating valves is essential to ensure their reliable operation. By replacing the diaphragm at the recommended intervals, you can prevent costly breakdowns and ensure the valve is operating at its best. As a pneumatic regulating valve supplier, we can provide you with the necessary maintenance guidelines and replacement parts.
Explore Our Product Range
We offer a wide range of pneumatic regulating valves to meet your specific needs. Some of our popular products include the Pneumatic Diaphragm 3-Way Diverting Control Valve, Pneumatic High-pressure Control Valve, and Pneumatic Steam Trap Control Valve. These valves are designed to provide accurate and reliable fluid control in various industrial applications.

Contact Us for Procurement
If you are interested in purchasing pneumatic regulating valves or need assistance with diaphragm replacement, please feel free to contact us. Our team of experts is ready to help you find the right solution for your needs.
References
- Industrial Valve Handbook, 3rd Edition
- Pneumatic Control Systems: Principles and Applications


